
Start with the gaps your site needs to close
Walk the route from the street to a unit. Include vehicle gates, pedestrian entrances, internal doors and service areas. Consider someone entering without permission, following a customer in, or renting a unit to gain legitimate access. The aim is to limit where they can go, detect unexpected activity and give someone enough information to respond.
Make the physical site harder to bypass
Secure doors, unit partitions, gates and locks provide the foundation. Lighting and camera coverage help people see what is happening at entrances and along customer routes. Check that secondary entrances and maintenance access receive the same attention as the main gate. Plan controlled access alongside safe emergency exit arrangements.
Give each person their own way in
Give customers and their invited helpers individual profiles and credentials. A colleague can help unload without borrowing the customer’s login, and your team can see whose credentials were used. Set access to the areas and hours each person needs, then remove it when that need ends.
Reduce the value of a copied code
Dynamic QR codes expire, limiting how long a copied image remains useful. A current code can still be used within its validity window. MFA adds a further check: both the QR code and PIN must pass before access is granted. Choose the credential checks your entrances need, and apply the same permissions whichever access method a customer uses.
Understand changing codes
Compare static credentials, dynamic QR and Smart PIN, including what changing codes can and cannot establish.
Explore understand changing codesUnderstand MFA
See how requiring the configured factors changes the access check.
Explore understand MFACheck app openings at the entrance
You can require nearby GPS location, a PIN displayed on the keypad, or both before an app opening. The displayed PIN asks the customer to read the on-site screen, adding a check beyond the phone’s reported location. It requires a keypad. A code could still be relayed to someone elsewhere, so keep access tied to individual permissions.
Know how many people a visit starts with
The keypad can ask how many people are entering and attach that customer-declared count to the visit. A monitoring partner with compatible AI cameras could use the visit data to compare that answer with camera observations and help their team follow the group’s activity across covered areas. Bearbox provides the visit information; the partner provides camera analysis. Ask your monitoring partner whether their cameras can use this visit information.
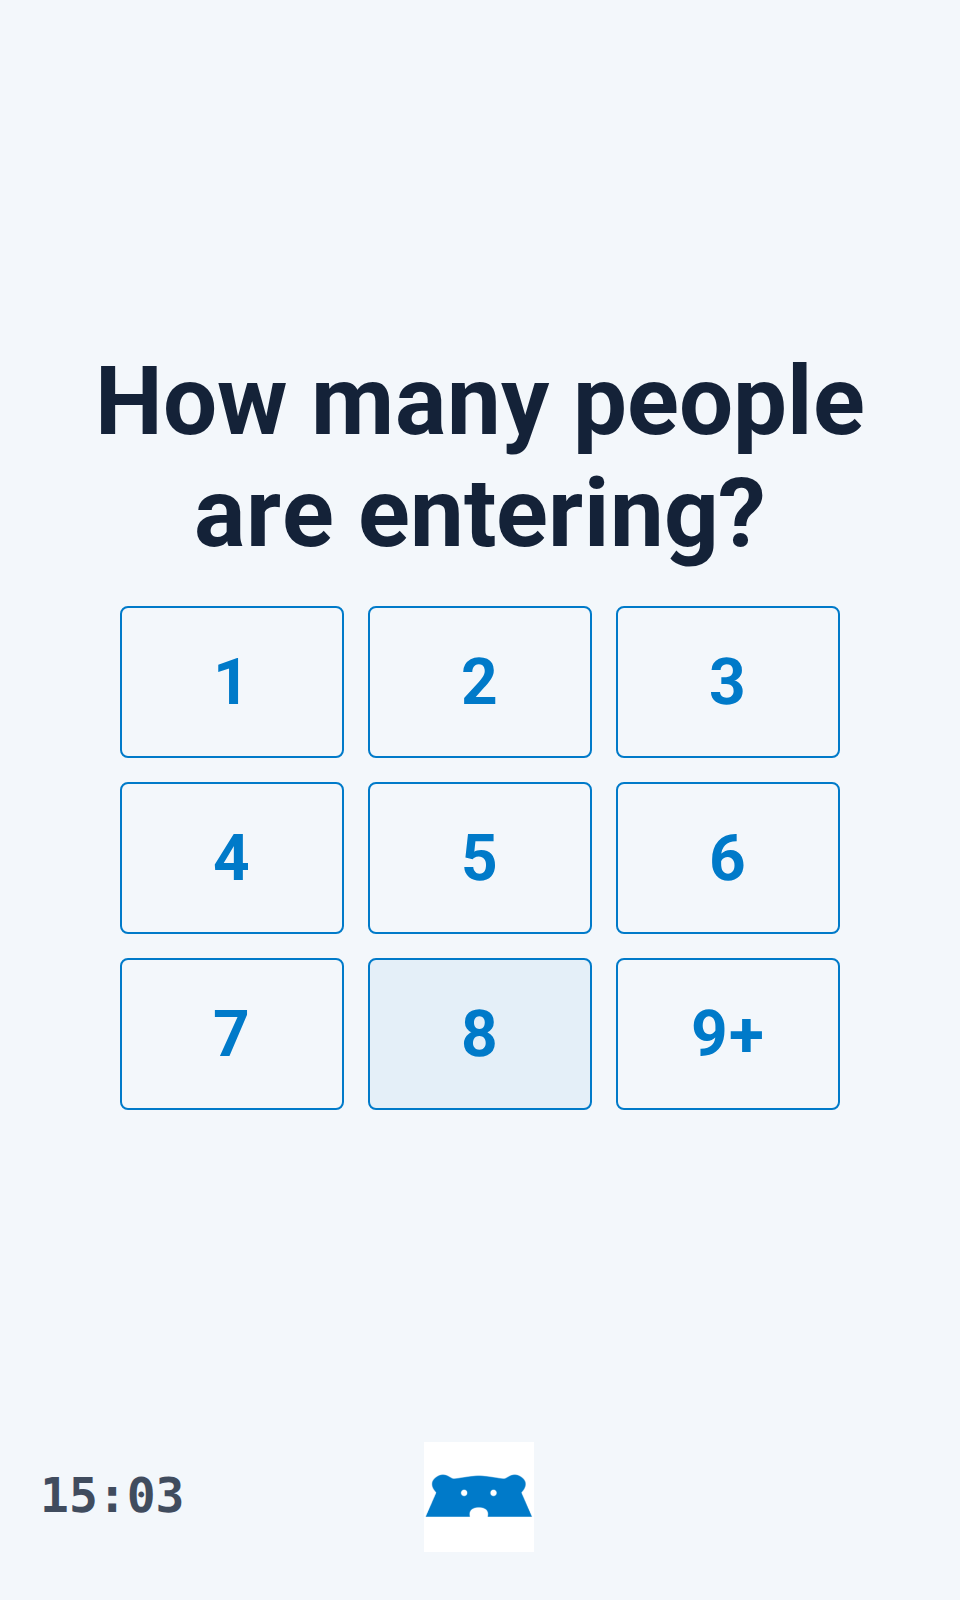
A declared count needs checking
The keypad records the answer customers give. It does not count or identify people, or detect someone following them in.
Keep customers on the route they need
Permission to enter the site should not automatically open every floor, corridor or service room. Use access zones to connect customers with the route to their unit. Give staff and contractors the areas and hours their work requires. Review routes when a customer changes units or when the site layout changes.
Keep other units protected during a visit
Customers need to reach and use their own unit without unnecessary alarms. Bearbox temporarily disarms the alarm areas on their route and their unit for the visit, while other areas stay protected. Door contacts report openings, and PIRs detect movement inside or outside units within their coverage. Decide how protection returns when the visit ends.
Choose the signals you need
Compare door-opening detection with movement monitoring inside units and across customer routes.
Explore choose the signals you needConnect alarms with visits
See how permitted visits affect the relevant alarm areas while other areas remain protected.
Explore connect alarms with visitsNotice when protection is disturbed
Include tamper monitoring for wiring faults and enclosure openings on the supported PIRs, door-contact circuits and keypads in your installation. Make those events visible to the people responsible for the site. A device being disturbed needs its own investigation, even when there is no unit-opening alarm.
Give an alarm a clear next step
Decide who investigates an unexpected opening, movement alarm or tamper event during the day and overnight. Give them access to the relevant camera views and agree when to escalate. Your monitoring service may include audio warnings or a security call-out. Test that an event reaches the person responsible and that they can take the agreed action.
See how a connected approach works in practice
DSOC’s Ready Steady Store case brings Bearbox MFA together with alarm upgrades, monitored CCTV and a response using audio warnings and security or police call-outs. DSOC reports at least ten disrupted live break-in attempts over three years through the combined project. The case shows an entrance check, detection inside the site and people ready to investigate working together.
Keep checking the site you actually operate
Commissioning is the beginning. Review permissions, test sensors and notifications, and check equipment after faults or layout changes. Stored contents can change a PIR’s view. Agree how staff assist customers during a power or connectivity outage while keeping emergency exit arrangements safe. Local electricians can wire a Bearbox installation; Bearbox signs off commissioning so warranty and support apply.
Review one visit from arrival to response
Use this short review with your team and monitoring partner. Record any gap, the person responsible and the next action. Each control should answer a useful question about your site.
Who is entering?
Check individual credentials, invited helpers, configured MFA, app opening checks and any declared headcount.
Where can they go?
Follow the permitted route and check which doors, units and alarm areas it affects.
What stays protected?
Check neighbouring units, restricted areas, sensor coverage and tamper monitoring.
Who acts on a problem?
Follow an unexpected event through notification, camera review and the agreed response.
Further reading
For a broader look at physical building security, NPSA explains how early detection, physical delay and a suitable response work together. Use that guidance alongside a review of your entrances, unit protection and monitoring.